Using an Ecobee Thermostat with a Millivolt Heating System
We’ve always been using an old simple thermostat for use with the house’s stove which uses a millivolt connection. This is the only heating appliance in the house, and there’s no AC (perks of living in Washington). But recently, I decided that it was time to upgrade to a smart thermostat.
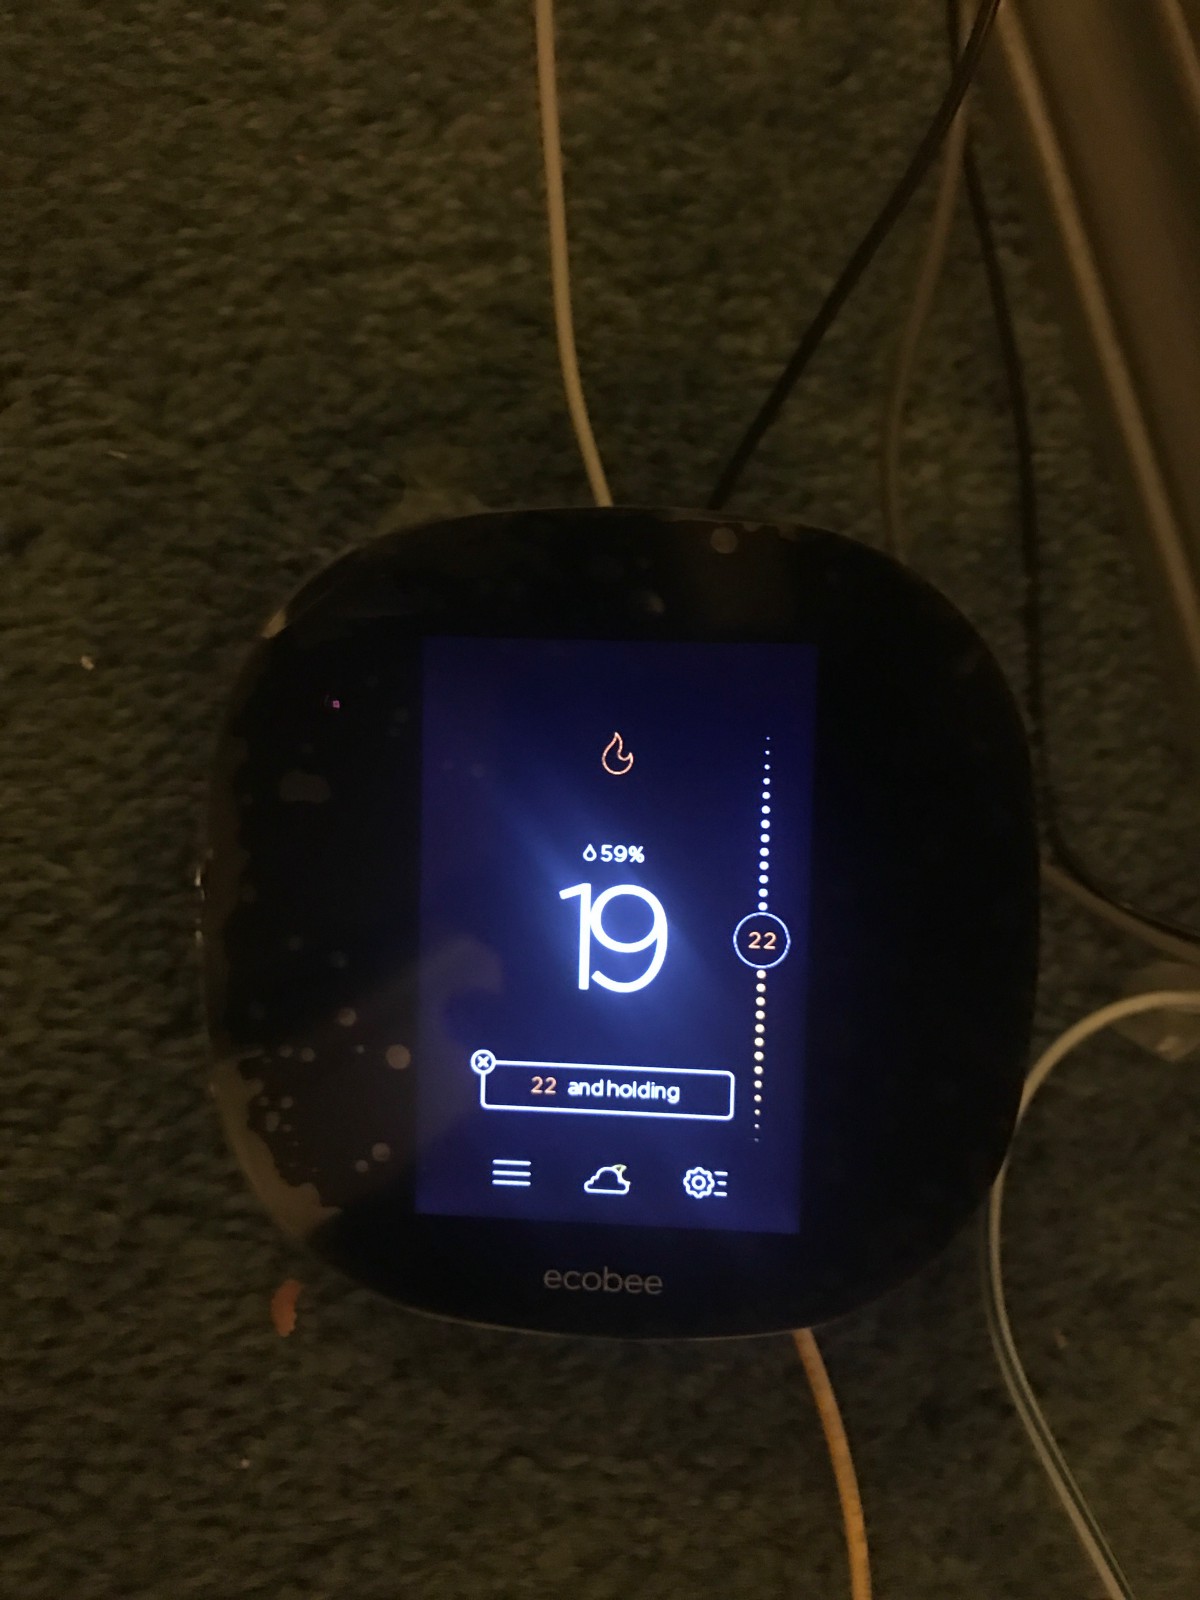 It's working!
I really wanted HomeKit support on the thermostat, so I ended up going with the Ecobee 3 Lite. It is a cheaper version of the Ecobee 3 that skips the remote sensors and some other premium features. I figured the lite would be perfect for my smaller use case, and because there’s only one source of heat so the remote sensors wouldn’t be all that useful.
Unfortunately, the Ecobee (and Nest and most other competitors as well I believe) don’t support millivolt heaters natively. They only support the HVAC wiring system. Millivolt does not contain wiring for power, so that has to be managed as well. I was still determined install this thing, after some research on the internet and expirementation with electronics parts off Amazon, I was able to get it working!
Now I’m just going to preface this with the fact that I’m a software engineer not a electrical engineer. So I’m not guarenteeing that everything here is 100% correct, just sharing the solution that worked for me. There was a few posts on forums and Q&A sites giving some hints on how this works but I couldn’t find a comprehensive guide. So I figured I’d write one in case anyone else is trying to connect their Ecobee (or nest, etc.) to a millivolt stove.
The Parts
And also you’ll need some wiring, which you may have laying around. Be sure to have enough slack for when you install it in the wall.
Wiring Diagram
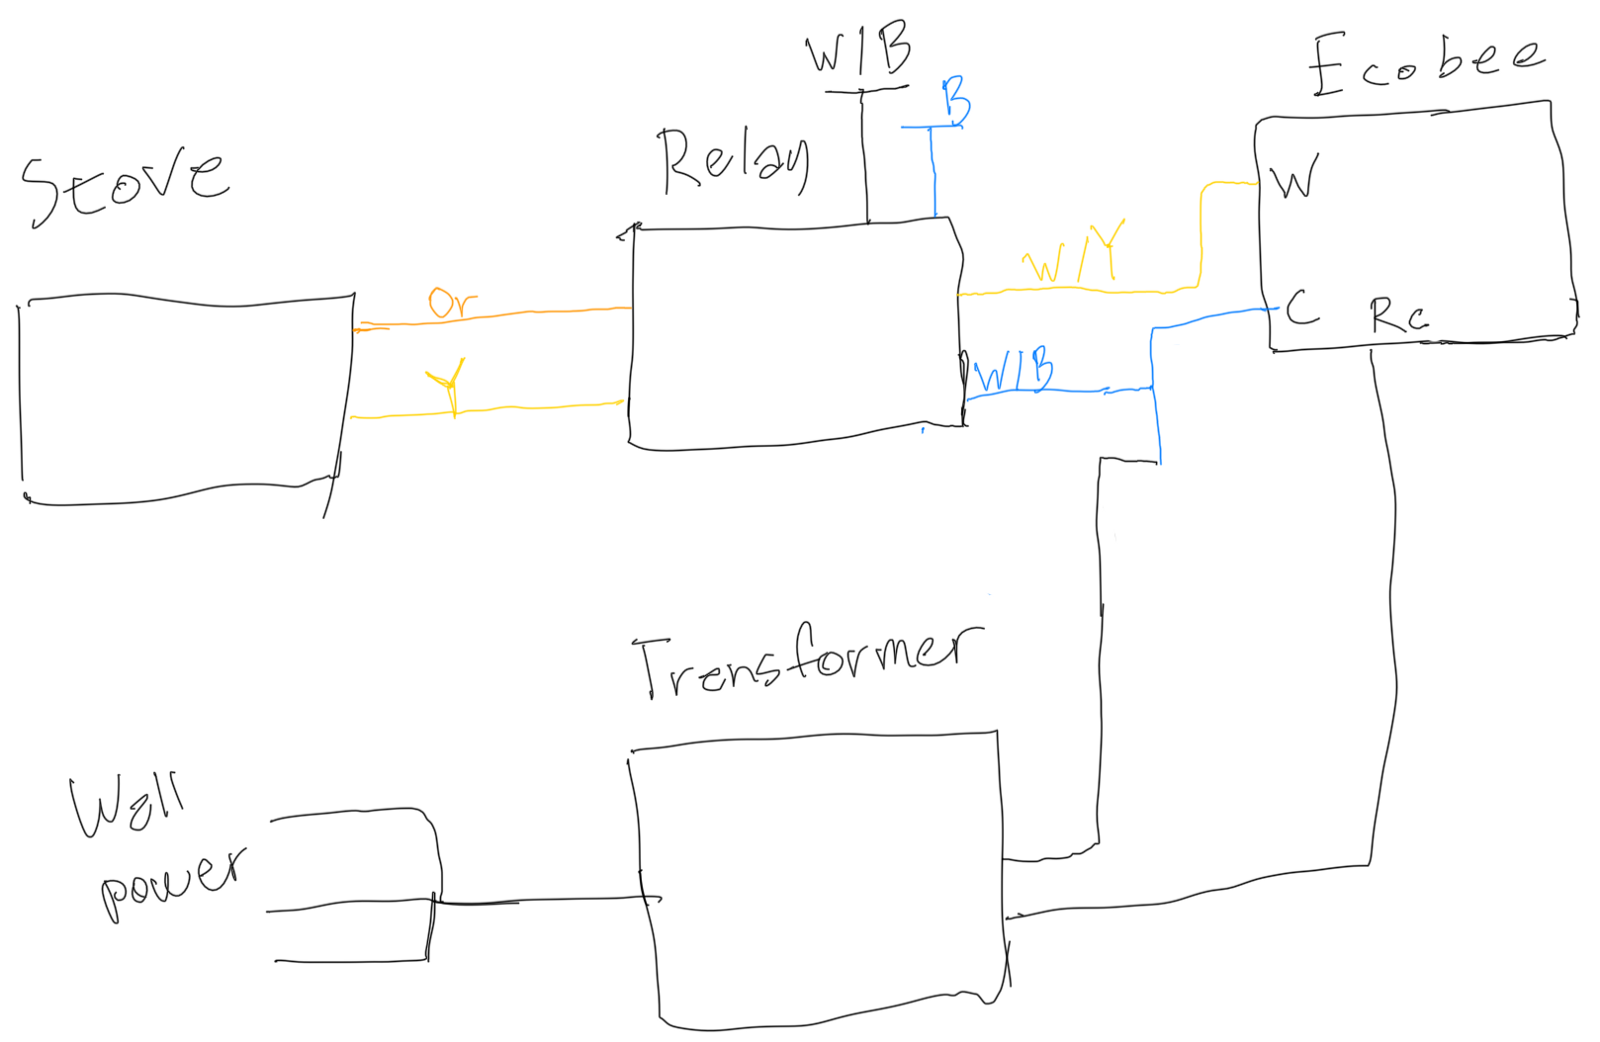
A professional drawing
Please excuse the amateur iPad sketch, but this should give a good idea of how it’s wired up. Here’s a legend if any of the colors are ambiguous
- Relay Orange -> Heater
- Relay Yellow -> Heater
- Relay White/Yellow -> Ecobee W(1)
- White / Blue joins Transformer ouput #1-> Ecobee C
- Transformer output output #2 -> Ecobee Rc
- Relay White / Black: unused
- Relay Blue: unused
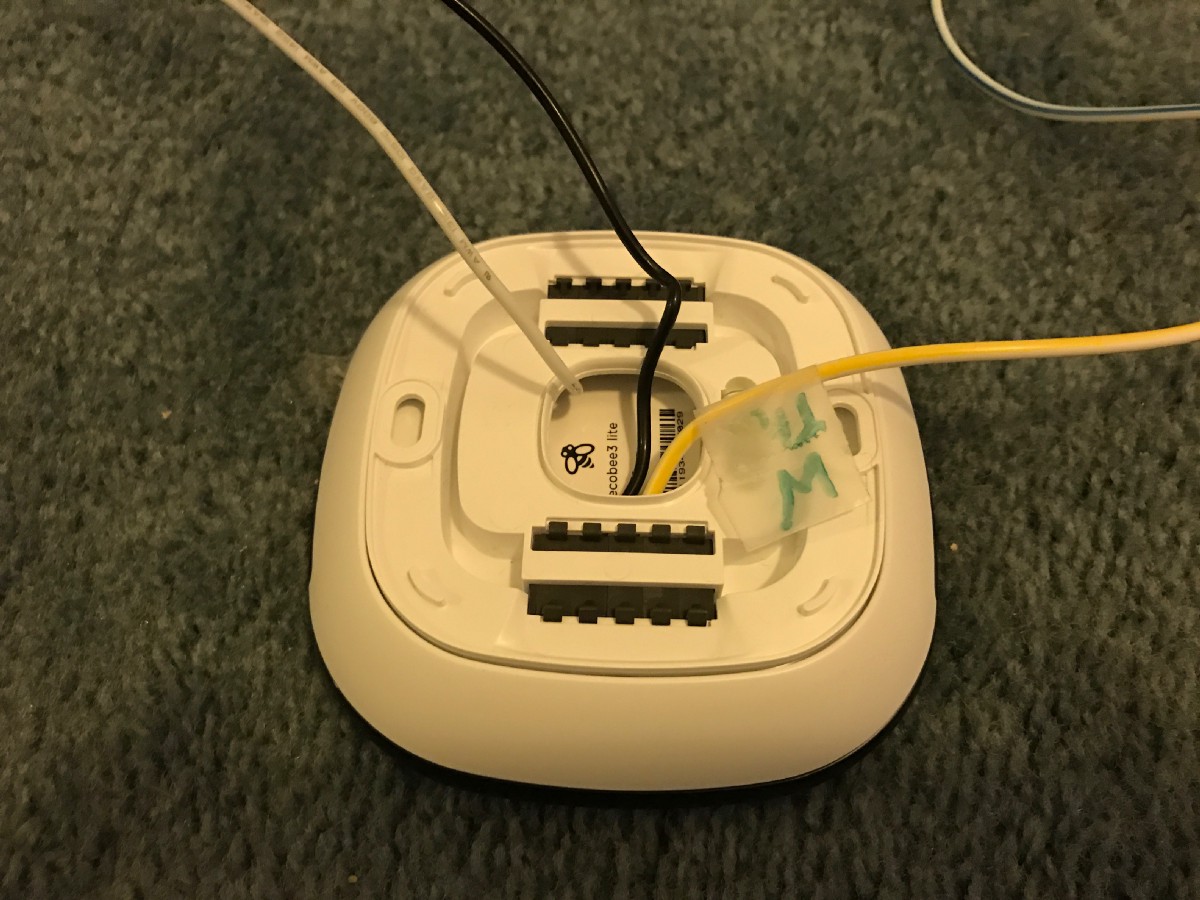 Wired in.
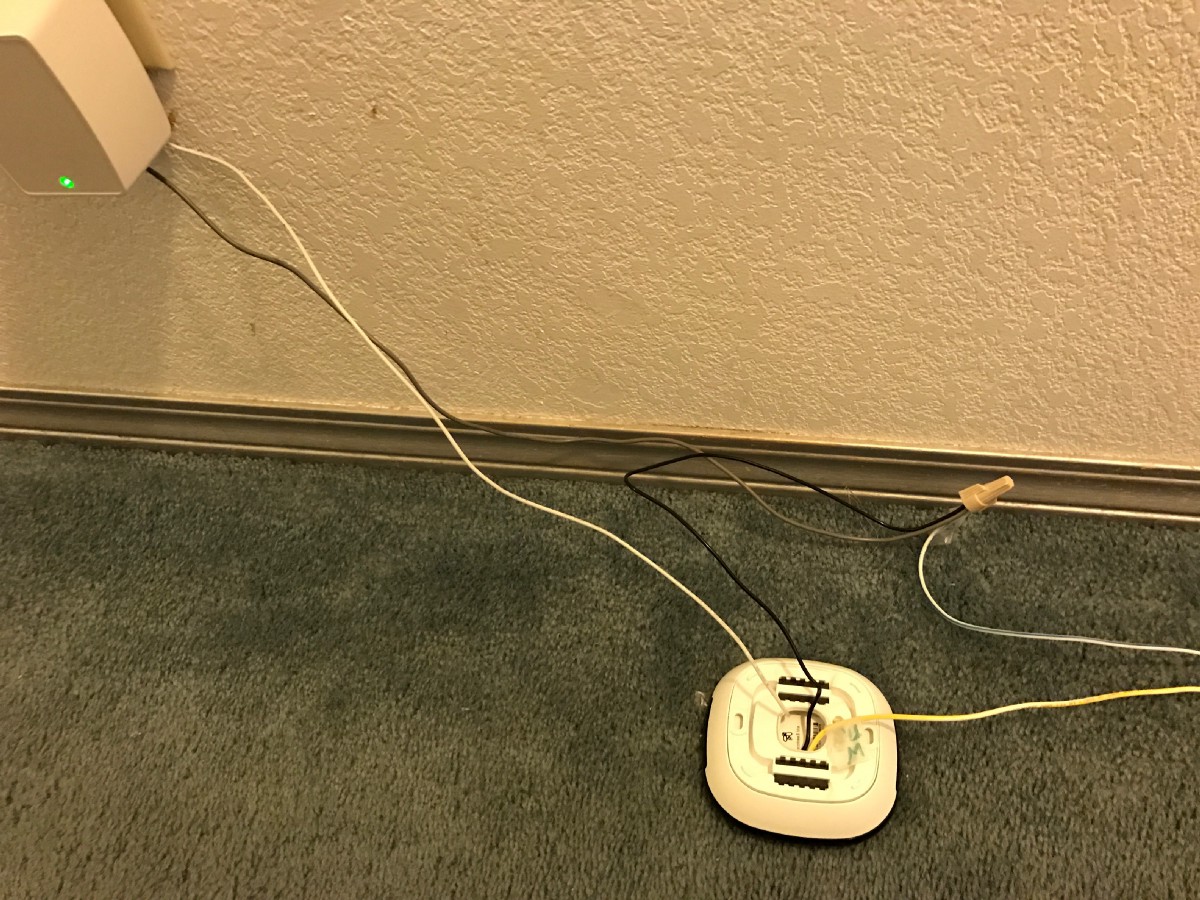 Connections #1
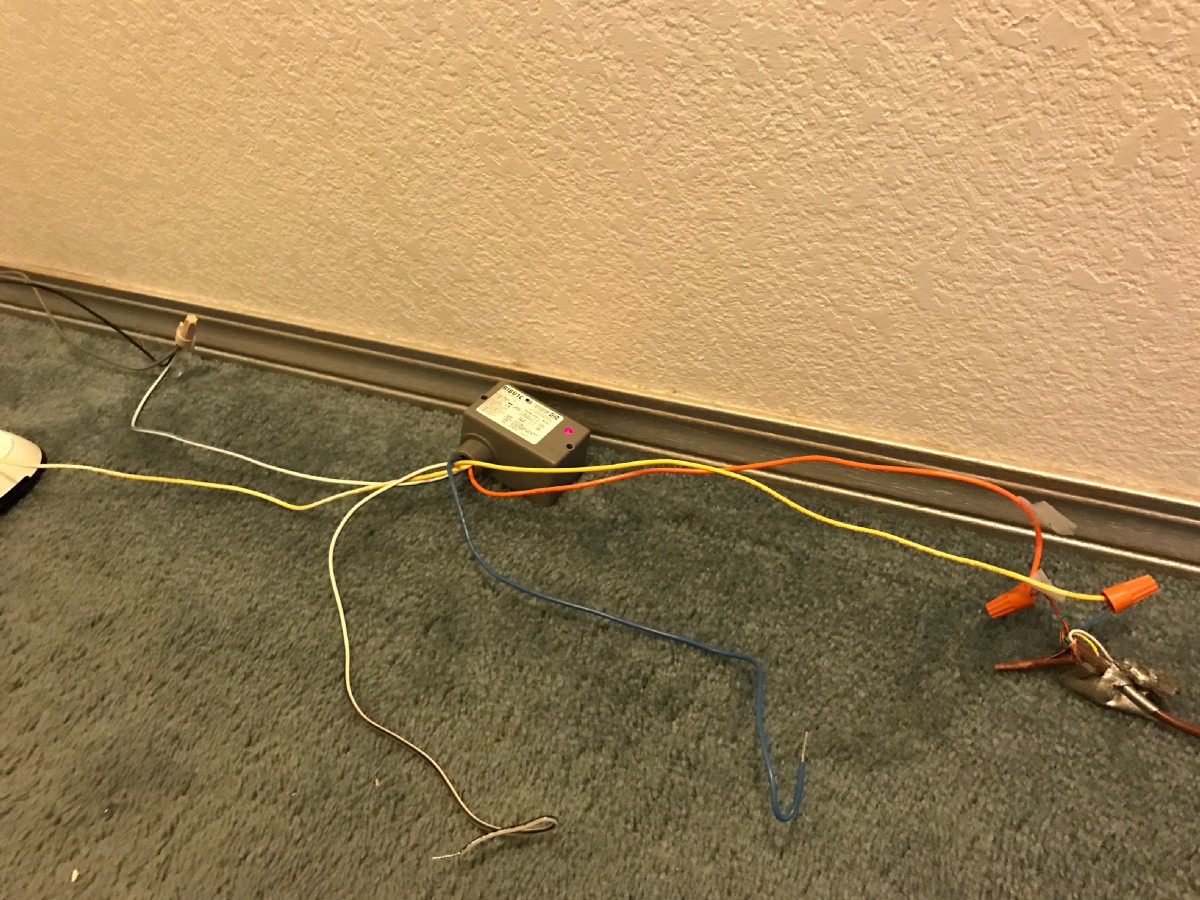 Connections #2
A note on the transfomers, originally we had tried using this Heath Zenith transformer but it only worked for about 5 minutes before exibiting some strange smells and overheating. We may have just received a faulty product, but we decided to just get one that plugs directly into the socket, then wire into the wall from there. A little more clunky, but it works for us. It’s easier because you don’t need to worry about mounting the transformer in the wall. Fortunately Amazon refunded us for the broken transformer, so not much harm done. Very very glad it did not damage the ecobee. These are the thrills of experimentation I suppose. The new transformer works like a charm.
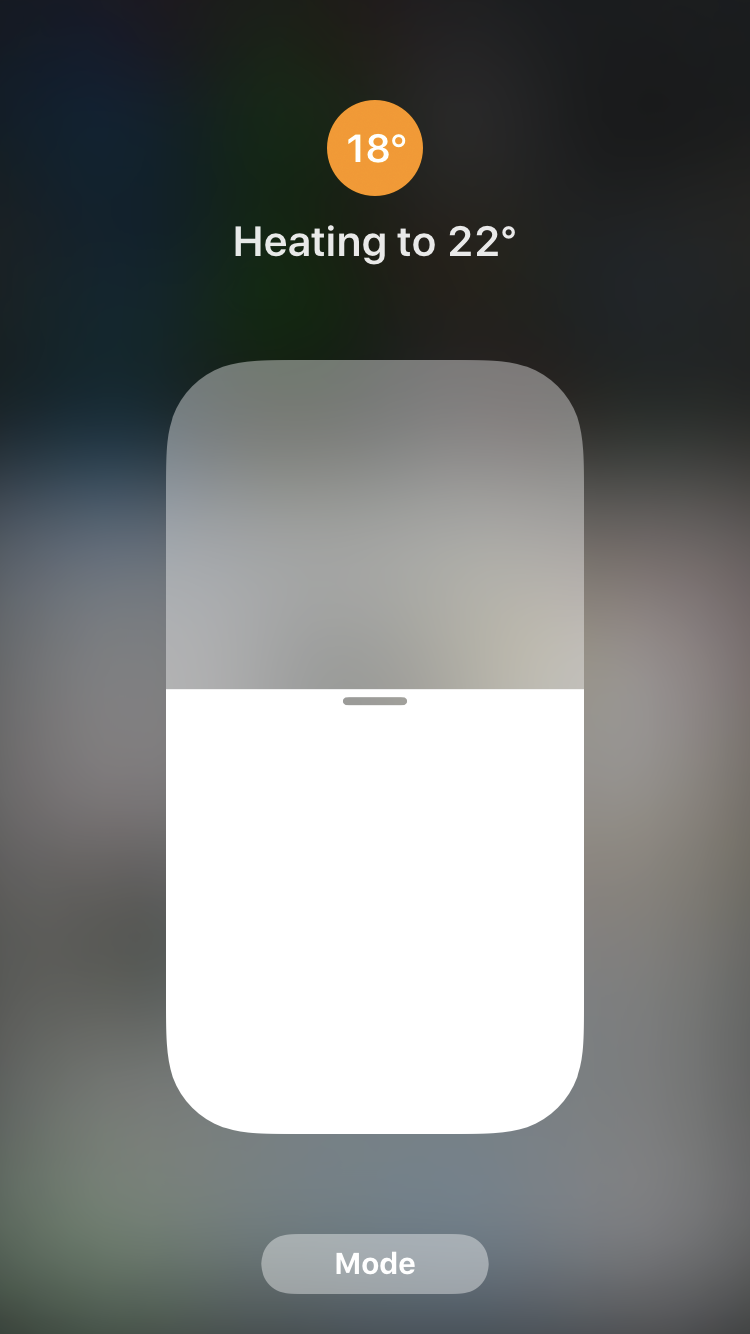
HomeKit access right from notification center
After getting it all set up, the Ecobee is very nice! We still haven’t properly mounted it in the wall, but we’re trying it out in the temporary setup until then. The homekit functionality is great and everything is working as expected. Overall I would recommend the Ecobee to anyone using a millivolt system or not. Hopefully this guide helped someone, let me know if you have any improvements / comments.